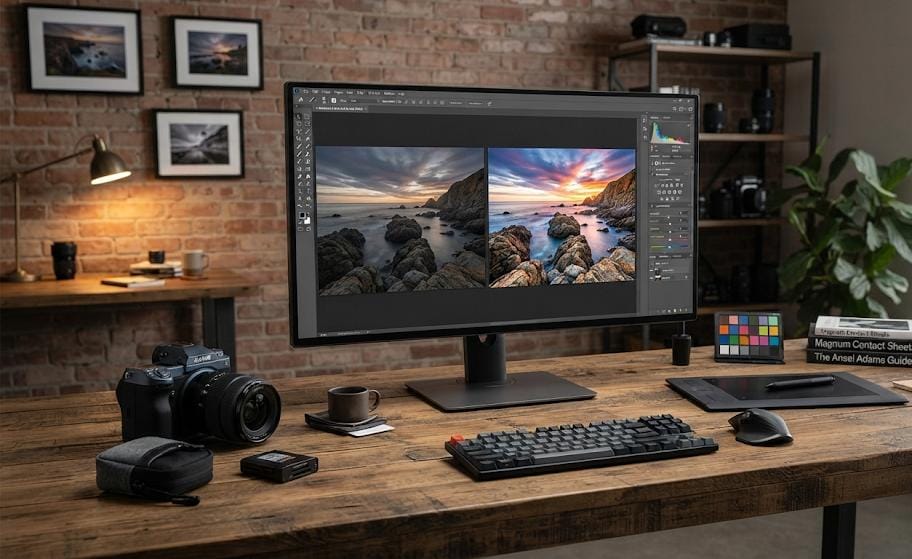
In today’s digital age, where social media rules, the importance of a good photo has increased more than ever. Everyone wants to take a great photo, but often the difference between a perfect shot and an ordinary one is just “photo editing.” Whether you are using images for your blog or posting on social media, the art of editing can make your content many times better. In today’s post, we will cover the basic and advanced techniques of photo editing.
Why is photo editing necessary?
Photo editing does not just mean applying filters; its purpose is to remove flaws and highlight the actual message of the image. Editing gives your photo a professional look, balances the colors, and draws attention to the main subject by removing unwanted elements.
Key pillars of photo editing
1. Composition and Cropping
Editing should always start with cropping. If there is an unnecessary part of the image distracting from the main subject, crop it out. Remember the “Rule of Thirds”; placing your subject slightly off-center rather than in the middle makes the photo more attractive.
2. Light and Contrast
- Exposure: If the photo is too dark or too bright, adjust the exposure.
- Contrast: Increasing contrast adds depth to the image and clarifies the difference between dark and light areas.
3. White Balance and Color Balance
Often, photos get a blue or yellow tint due to lighting effects. By correcting the white balance, you can bring the photo back to natural colors. Do not increase saturation too much, or the photo will look artificial. Beauty lies in keeping the colors natural.
4. Sharpness and Detail
Use “sharpness” or “clarity” to make the photo crisp. But be careful; excessive sharpness can create grain or noise in the image.
Modern editing techniques
- Healing and Cloning: These tools are perfect for removing blemishes from a face or unnecessary objects in the background (such as a trash can or wires).
- Use of Masks: If you want to edit only a specific part of the photo (for example, changing only the color of the sky), use masking.
Best software for editing
Different tools are available according to your needs:
- Basic level: Snapseed and Lightroom Mobile (both are excellent for mobile).
- Professional level: Adobe Photoshop and Adobe Lightroom (if you are a serious photographer or blogger).
- Free alternatives: GIMP and Canva (for basic designing).
Common mistakes in photo editing
- Excessive Filters: Stop applying the same filter to every photo. Every photo has different lighting and requirements.
- Not having Raw data: If possible, shoot photos in “RAW” format. It provides more data and flexibility during editing.
- Rushing the edit: After editing a photo, leave it for a while and look at it again after some time; you will automatically spot errors.
Conclusion
Photo editing is a creative journey. It is not a magical process; it comes with practice. “Small to Big Tech” believes that technical skills take your creativity to a new height. Experiment with your photos, try different tools, and create your own unique identity. Remember, the best editing is that which enhances the natural beauty of the photo, not changes it completely.
Which app or software do you use to edit your photos? Do you have an editing tip that could be useful for everyone? Let us know in the comments!
Stay connected with “Small to Big Tech” for more interesting information about the world of photography and technology!